Hi AdamPolak ,
As it's INT16, you'd need to implement something similar to depth -> pointcloud conversion docs for your "model" as well:
https://docs.luxonis.com/en/latest/pages/tutorials/device-pointcloud/#on-device-pointcloud-nn-model
Thanks, Erik
If I subtract 2 StereoDepth frames from each other how to output in OpenCV
I have updated the model to take in the conversion of a depth map from U8 to Fp16
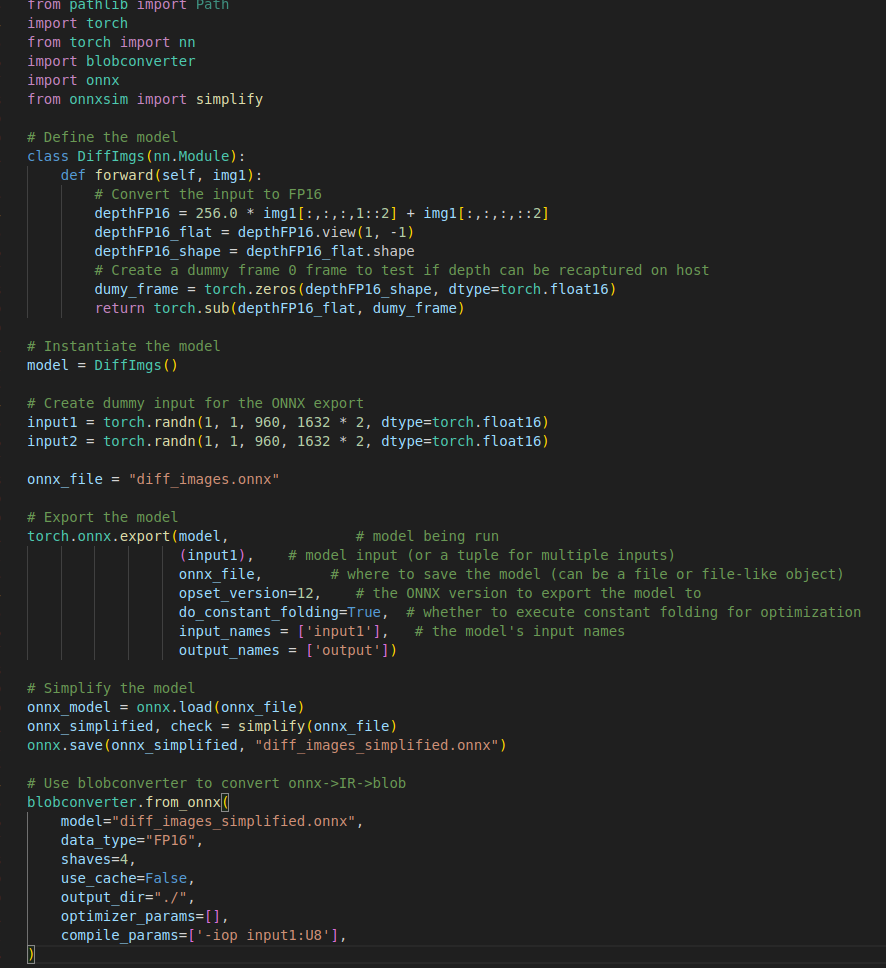
I can't figure out how to "get back" to the depth frame from the resulting NNData.
1. If it is a vector of floats that I pull out of NNData that are fp16, does that mean I need to reduce it again to U8? How is the conversation made so I know how to undo it.
- If I set sub-pixel = true, the data type changes to UINT16, how would that change what I need to do?
I am close, I am getting depth values that make sense in fp16 from the model.
The issue is I do not know how to convert those floats back into a cv::mat
I tried adding the floats to a cv::Mat.data() just by going 1 by 1 but it seems to be encoded differently. How does the 1D vector of floats compare to a 2D 1 channel image? Should I be alternating every float or something for height/width?
This seems to be my last step.
AdamPolak please check how it's done on other demos:
https://github.com/luxonis/depthai-experiments/blob/master/gen2-custom-models/concat.py#L58
inNn = np.array(qNn.get().getData())
frame = inNn.view(np.float16).reshape(shape).transpose(1, 2, 0).astype(np.uint8)
cv2.imshow("Concat", frame)I have been staring at that example so hard I think I have it memorized lol.
The example uses 3 channels and uses numpy to reshape. The C++ version uses this utility function to shape the 3 channels:
https://github.com/luxonis/depthai-core/blob/main/examples/utility/utility.cpp
https://github.com/luxonis/depthai-core/blob/main/examples/NeuralNetwork/concat_multi_input.cpp
So it doesn't have to deal with translating it from 0-65535 to 0-255 In a way that can be displayed.
Interpreting it as a CV32FC1 frame and then using this approach:
https://github.com/luxonis/depthai-core/blob/125feb8c2e16ee4bf71b7873a7b990f1c5f17b18/examples/StereoDepth/depth_preview.cpp#LL54C43-L54C43
frame.convertTo(frame, CV_8UC1, 255 / depth->initialConfig.getMaxDisparity());
Leaves it scrambled as well.
I can't figure what the heck I am doing wrong.
I subtract the depth frame from 0's in the model:

So it is just outputting the same depth frame values.I get the the NNData from the queue and check that the size is the same as the expected 1632x960 and it is

I create a cv::Mat and then iterate through the floats, normalize to 0-255 and save as uint8_t

I then normalize and and display

And what shows up:
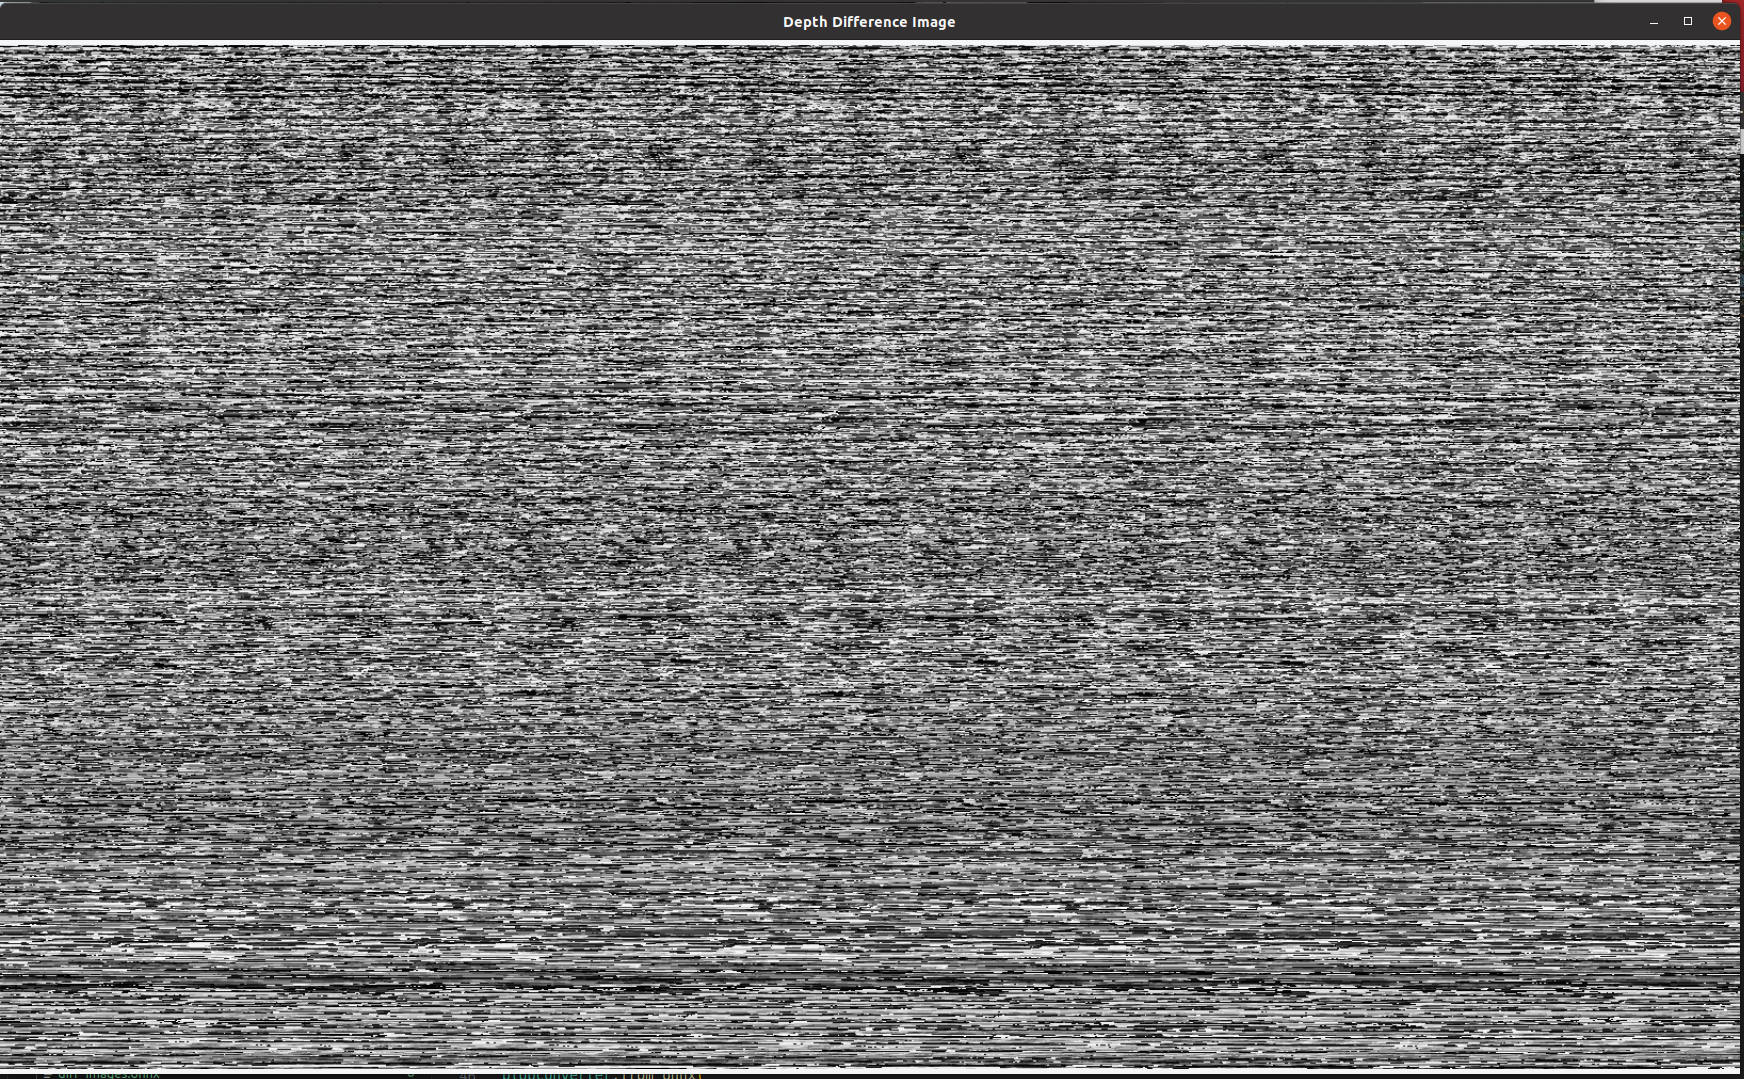
It is maddening
- Edited
Rewrote it in python and now there is a bit of an actual outline of me in my seat in the middle of what is showing up
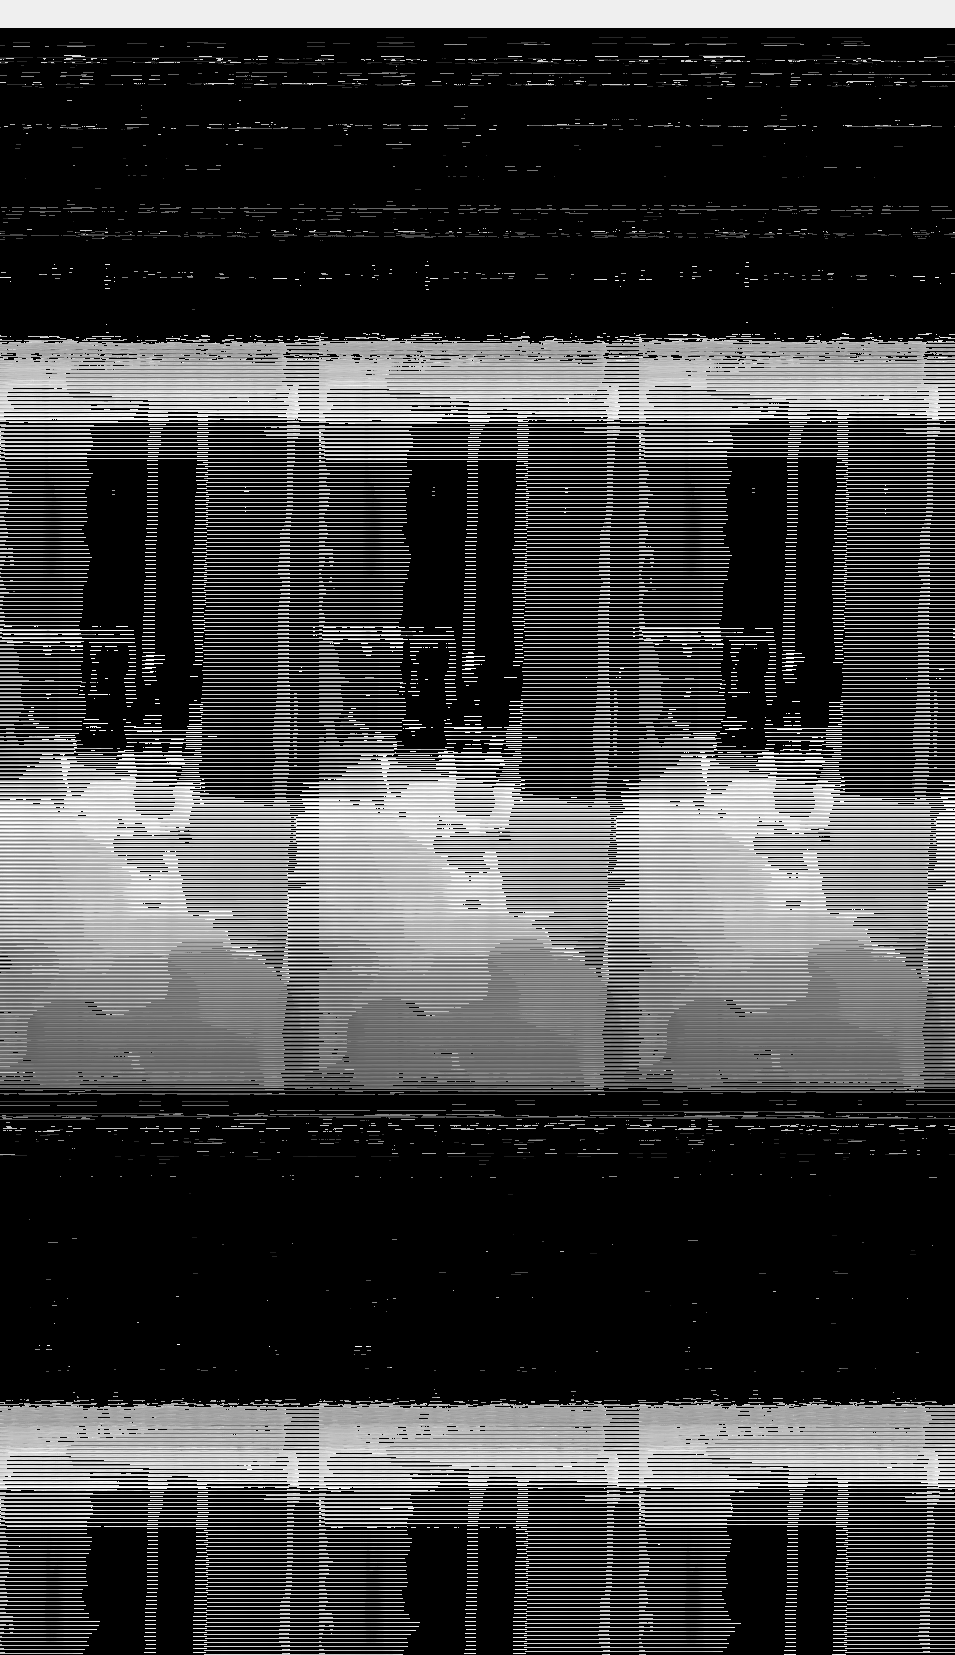
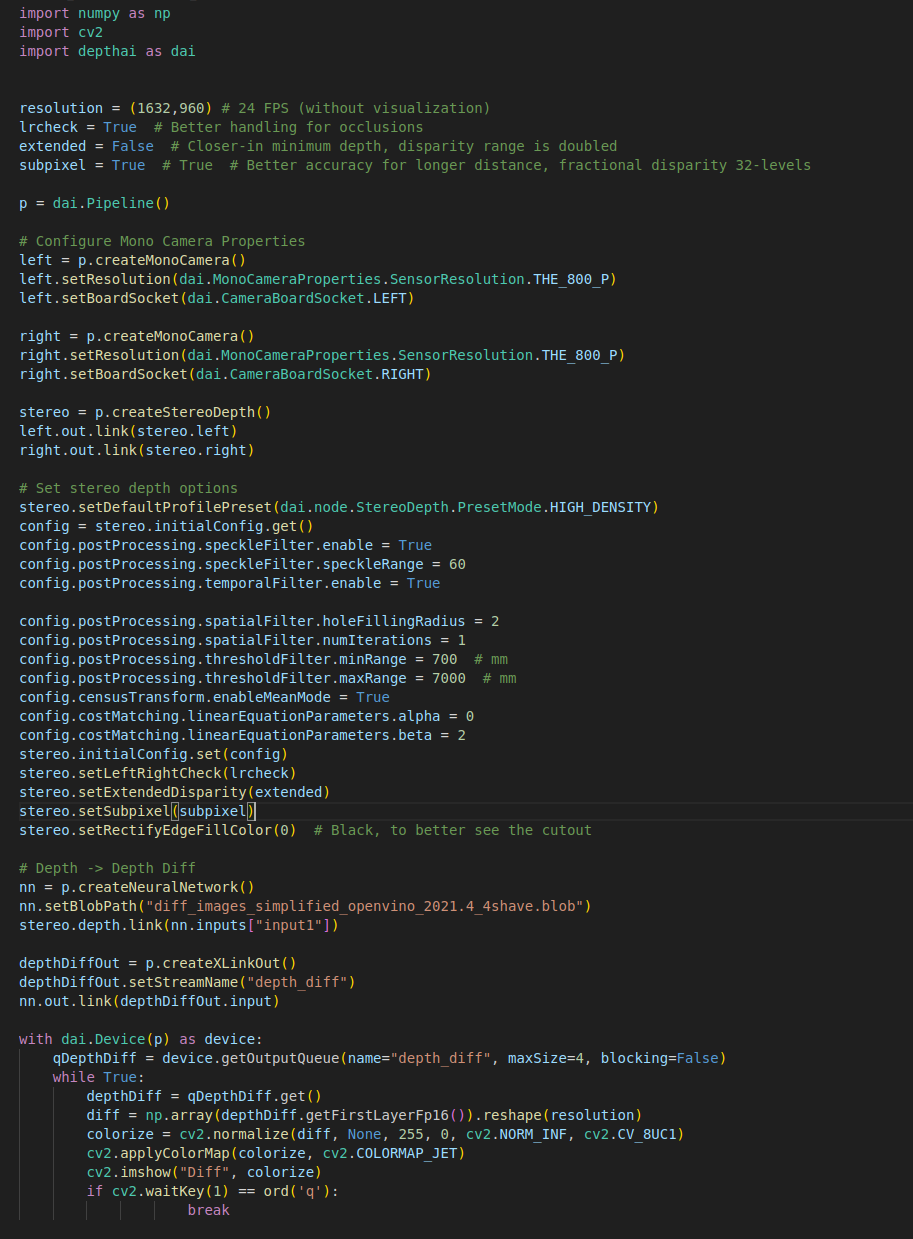
But I realize that I was reshaping it the wrong way and changed it to reshape how it was in the example and got it scrambled:
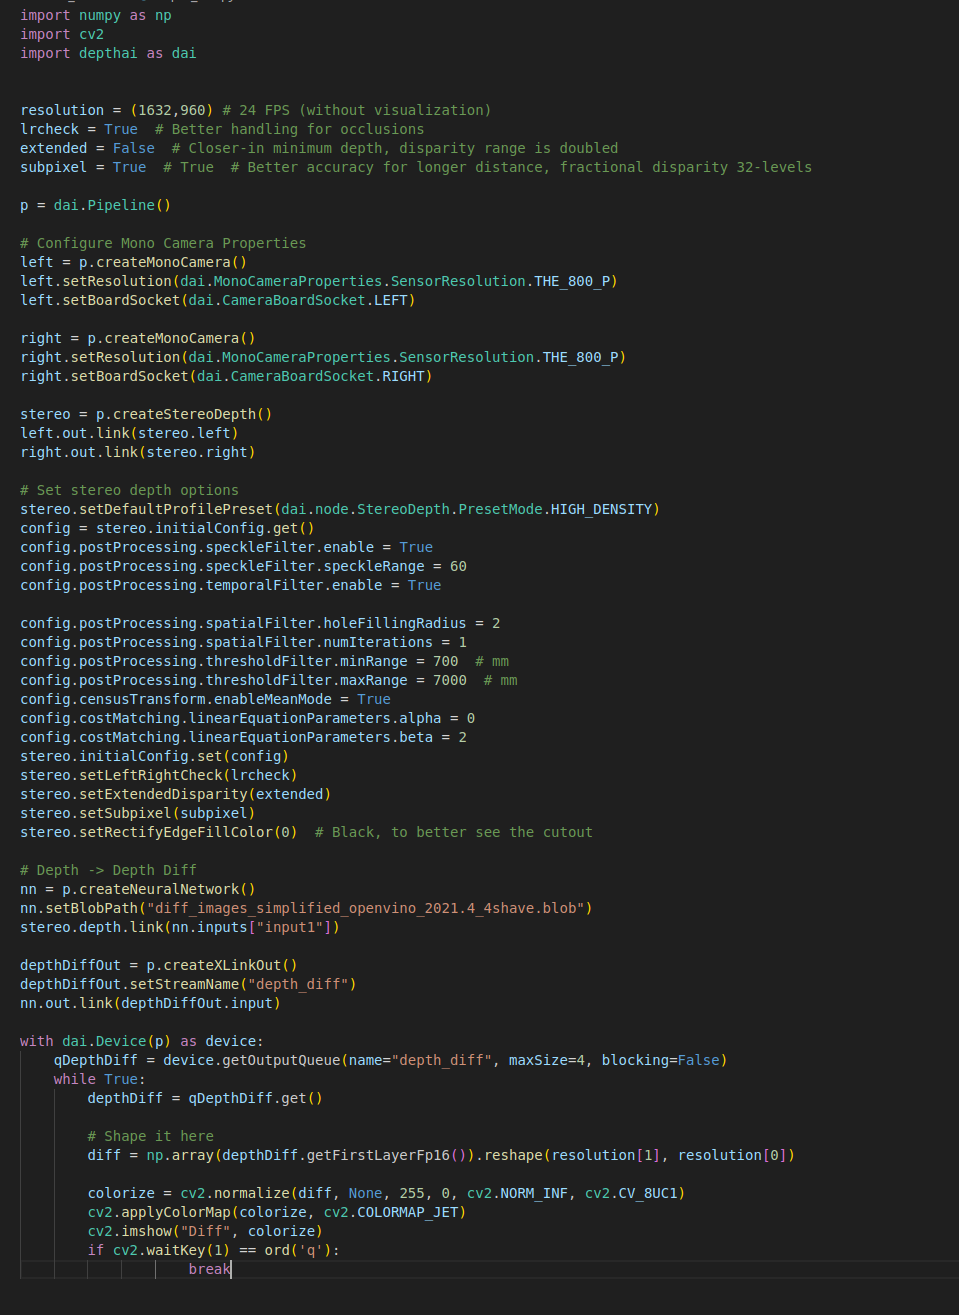
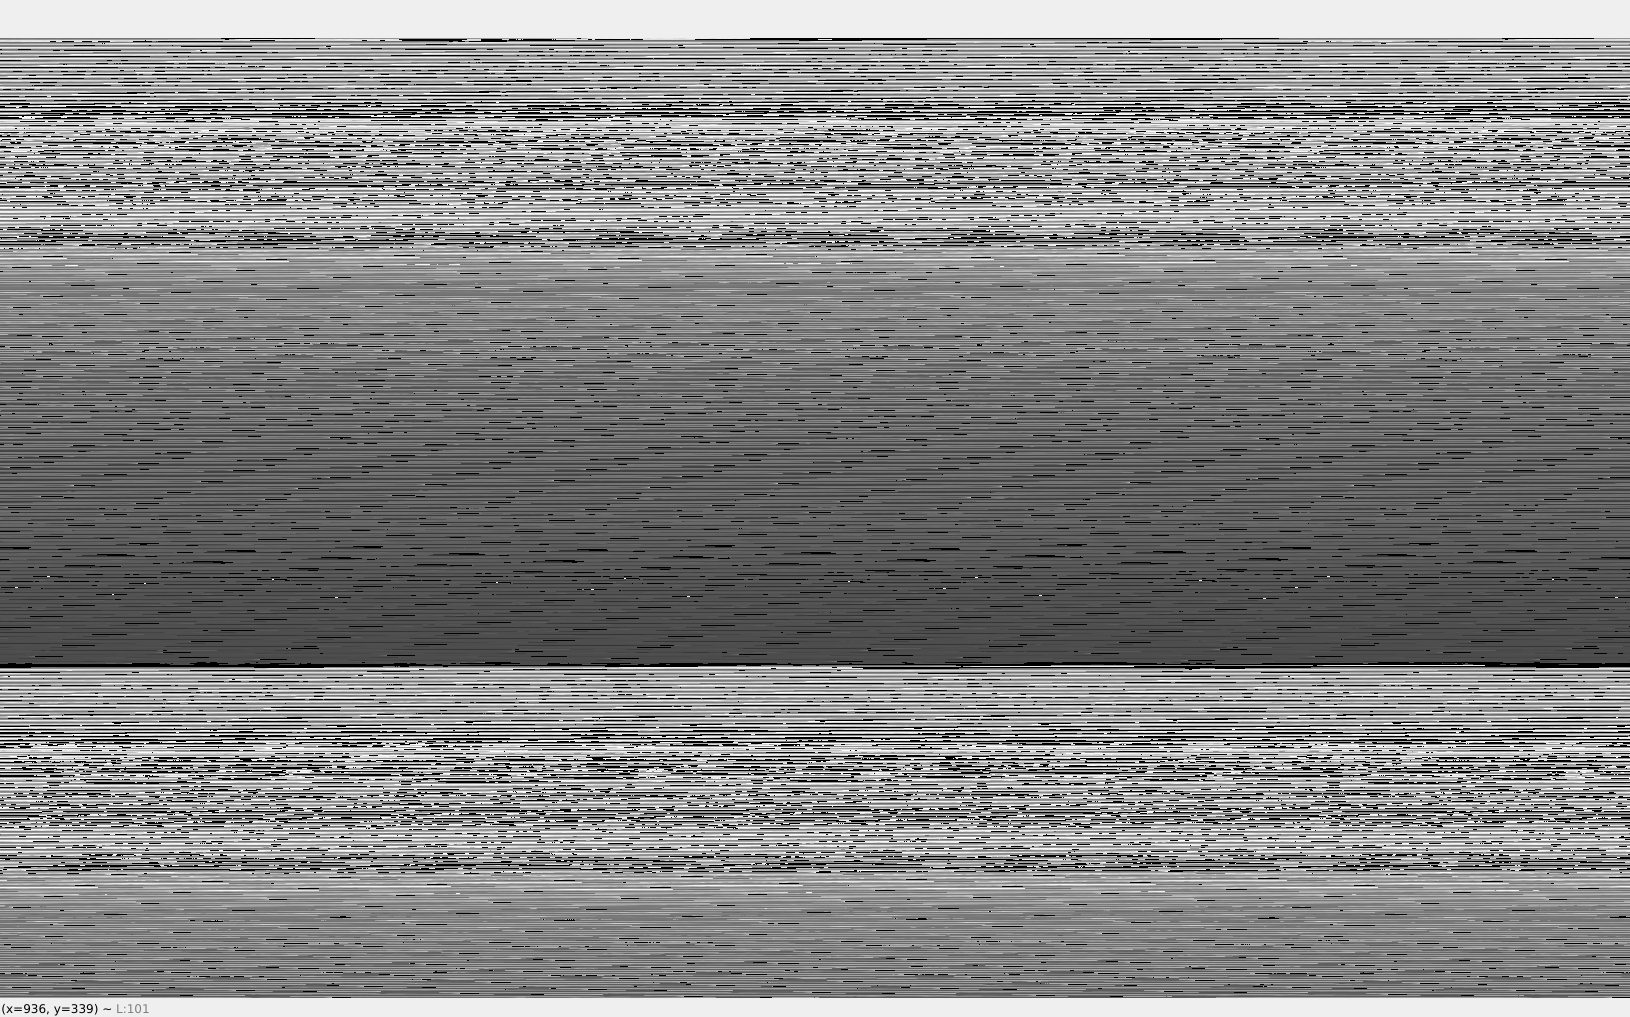
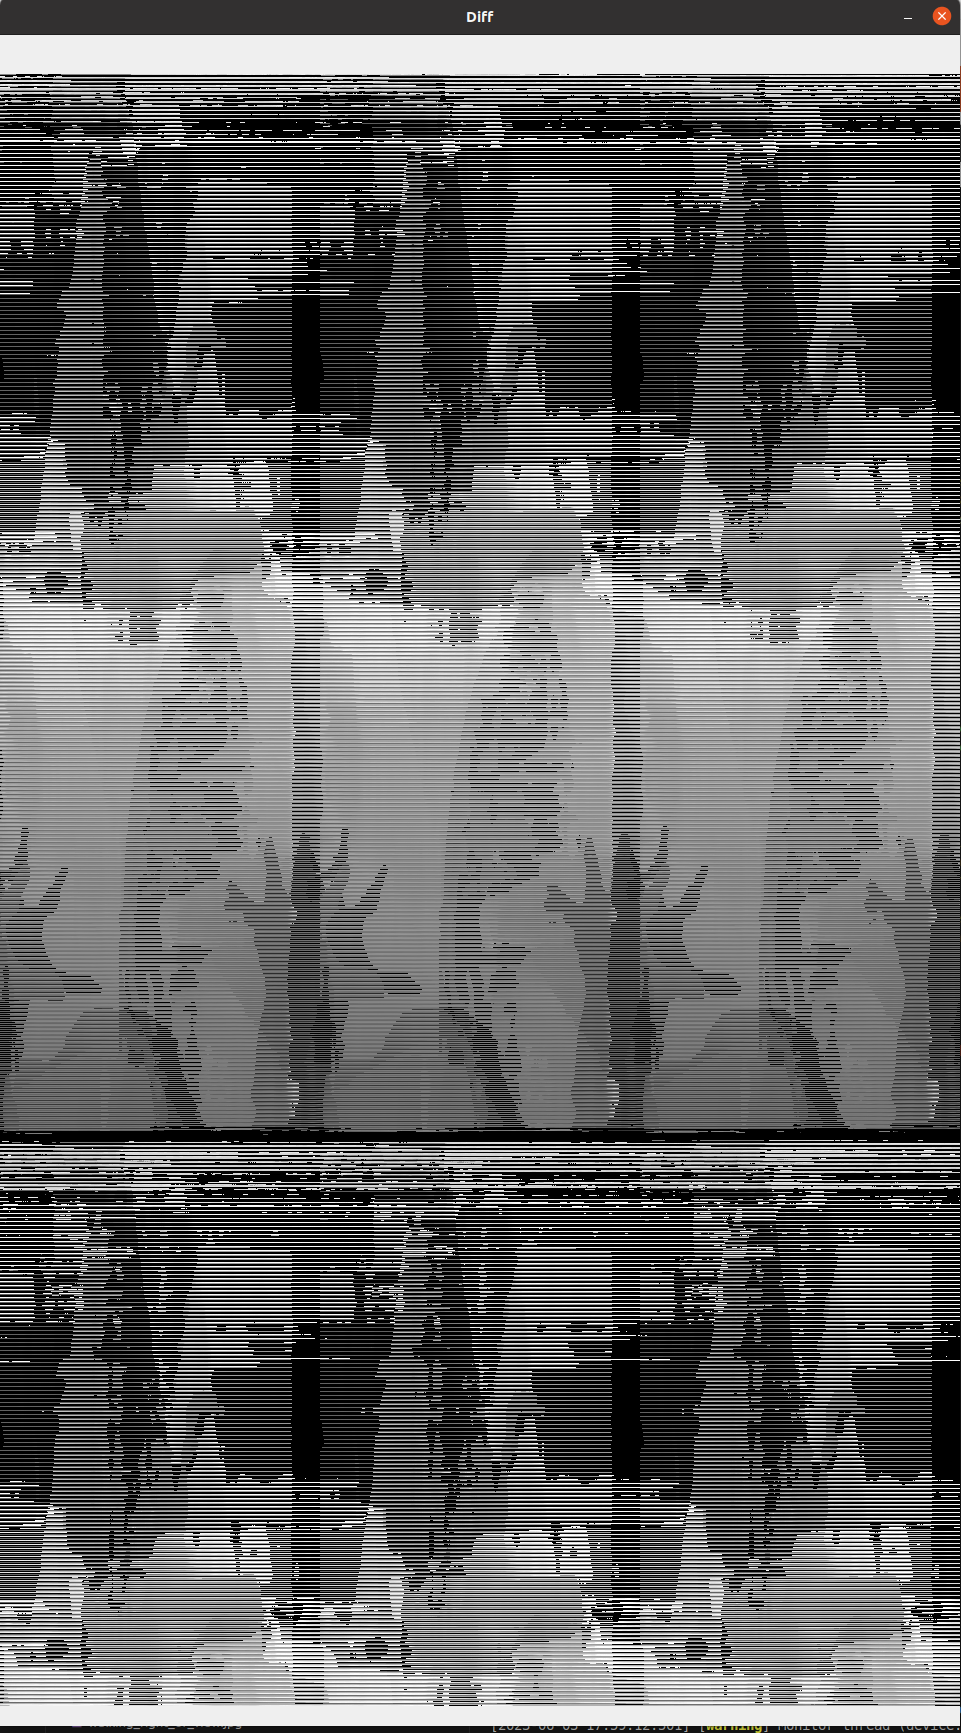
Now I am trying to figure out why when I messed up the reshaping was it the closest it was to looking accurate
Why the heck can I make out an image barely of my hand when I scramble the reshape
- Edited
@erik This is the depthai code:
import numpy as np
import cv2
import depthai as dai
resolution = (1632,960) # 24 FPS (without visualization)
lrcheck = True # Better handling for occlusions
extended = False # Closer-in minimum depth, disparity range is doubled
subpixel = True # True # Better accuracy for longer distance, fractional disparity 32-levels
p = dai.Pipeline()
# Configure Mono Camera Properties
left = p.createMonoCamera()
left.setResolution(dai.MonoCameraProperties.SensorResolution.THE_800_P)
left.setBoardSocket(dai.CameraBoardSocket.LEFT)
right = p.createMonoCamera()
right.setResolution(dai.MonoCameraProperties.SensorResolution.THE_800_P)
right.setBoardSocket(dai.CameraBoardSocket.RIGHT)
stereo = p.createStereoDepth()
left.out.link(stereo.left)
right.out.link(stereo.right)
# Set stereo depth options
stereo.setDefaultProfilePreset(dai.node.StereoDepth.PresetMode.HIGH_DENSITY)
config = stereo.initialConfig.get()
config.postProcessing.speckleFilter.enable = True
config.postProcessing.speckleFilter.speckleRange = 60
config.postProcessing.temporalFilter.enable = True
config.postProcessing.spatialFilter.holeFillingRadius = 2
config.postProcessing.spatialFilter.numIterations = 1
config.postProcessing.thresholdFilter.minRange = 700 # mm
config.postProcessing.thresholdFilter.maxRange = 7000 # mm
config.censusTransform.enableMeanMode = True
config.costMatching.linearEquationParameters.alpha = 0
config.costMatching.linearEquationParameters.beta = 2
stereo.initialConfig.set(config)
stereo.setLeftRightCheck(lrcheck)
stereo.setExtendedDisparity(extended)
stereo.setSubpixel(subpixel)
stereo.setDepthAlign(dai.CameraBoardSocket.RGB)
stereo.setRectifyEdgeFillColor(0) # Black, to better see the cutout
# Depth -> Depth Diff
nn = p.createNeuralNetwork()
nn.setBlobPath("diff_images_simplified_openvino_2021.4_4shave.blob")
stereo.disparity.link(nn.inputs["input1"])
depthDiffOut = p.createXLinkOut()
depthDiffOut.setStreamName("depth_diff")
nn.out.link(depthDiffOut.input)
with dai.Device(p) as device:
qDepthDiff = device.getOutputQueue(name="depth_diff", maxSize=4, blocking=False)
while True:
depthDiff = qDepthDiff.get()
# Shape it here
floatVector = depthDiff.getFirstLayerFp16()
diff = np.array(floatVector).reshape(resolution[0], resolution[1])
colorize = cv2.normalize(diff, None, 255, 0, cv2.NORM_INF, cv2.CV_8UC1)
cv2.applyColorMap(colorize, cv2.COLORMAP_JET)
cv2.imshow("Diff", colorize)
if cv2.waitKey(1) == ord('q'):
breakThis is the pytorch code. I no longer subtract from dummy frame and just pass through depth:
#! /usr/bin/env python3
from pathlib import Path
import torch
from torch import nn
import blobconverter
import onnx
from onnxsim import simplify
import sys
# Define the model
class DiffImgs(nn.Module):
def forward(self, depth):
# We will be inputting UINT16 but interprets as UINT8
# So we need to adjust to account of the 8 bit shift
depthFP16 = 256.0 * depth[:,:,:,1::2] + depth[:,:,:,::2]
return depthFP16
# depthFP16 = depthFP16.view(1, -1)
# depthFP16_shape = depthFP16.shape
# Create a dummy frame 0 frame to test if depth can be recaptured on host
# dumy_frame = torch.zeros(depthFP16_shape, dtype=torch.float16)
# return torch.sub(depthFP16, dumy_frame)
# Instantiate the model
model = DiffImgs()
# Create dummy input for the ONNX export
input1 = torch.randn(1, 1, 960, 1632 * 2, dtype=torch.float16)
input2 = torch.randn(1, 1, 960, 1632 * 2, dtype=torch.float16)
onnx_file = "diff_images.onnx"
# Export the model
torch.onnx.export(model, # model being run
(input1), # model input (or a tuple for multiple inputs)
onnx_file, # where to save the model (can be a file or file-like object)
opset_version=12, # the ONNX version to export the model to
do_constant_folding=True, # whether to execute constant folding for optimization
input_names = ['input1'], # the model's input names
output_names = ['output'])
# Simplify the model
onnx_model = onnx.load(onnx_file)
onnx_simplified, check = simplify(onnx_file)
onnx.save(onnx_simplified, "diff_images_simplified.onnx")
# Use blobconverter to convert onnx->IR->blob
blobconverter.from_onnx(
model="diff_images_simplified.onnx",
data_type="FP16",
shaves=4,
use_cache=False,
output_dir="../",
optimizer_params=[],
compile_params=['-ip U8'],
)- Edited
That is the resolution of my camRgb preview for person detection that I got from this example:https://github.com/luxonis/depthai-experiments/blob/30e2460557a3209770eb8943db41bc997a423212/gen2-pedestrian-reidentification/api/main_api.py#L22
I think I found what you found. Even if you set a depth preview a certain size, it won't make the image that big. I see now that the biggest that comes out is 1920,1080.
If my camera preview is 1632x960, how can I rgb align so I can find the spatial location of each RGB pixel?
I am having trouble understanding how depthpreview, depth resolution, rgb align, and rgb resolution all play together.
I had at one point added a ValueError for the ML model if the input size was not the same as expected, but apparently that doesn't trigger anything in OpenVINO.
